
Death By Fluff: The Kotatsu

This post could easily be titled “More like how a kotatsu square quilt managed to damn near kill one sewing machine, made one metaphorically throw its hands in the air and give up on this project because it was too fluffy, and Natasha seriously contemplated an industrial sewing machine.”
And I would have purchased one too if said industrial machines weren’t, you know, a cool $6,000 that I could be spending on everything else save a sewing machine for one project. Because oh, this quilt gave me fits.
Best part? It’s still not finished. My Heavy-Duty sewing machine decided to drop bobbin tension and gave up so I have the beautiful joy of hand stitching the last 20 inches.
</sarcasm>
So why did I make the kotatsu square?
I didn’t HAVE to quilt a kotatsu square. But my god, I wanted to. Just to say I did. This was entirely a mess of my own making and I’m owning that.
However, let’s go back a few months to the day I’m on the Facebook Mobile Site (oh Zuck, why) and skimming over my local East Fremont Buy-Nothing group when I see one poster gifting an old kotatsu. He was no longer using it, it was just sitting in a closet and he had no real reason to use it anymore so he was gifting it to a new home.

Naturally, I took the topic to Twitter. Gimme’ that sweet, sweet dopamine hit, baby.
Do I take the free kotatsu?
After the eighth “YES” - I hopped into the post with “if nobody else wants it, I can take it off of your hands.” I received the “when do you want to pick it up” DM about three hours later. Much to my complete delight.
That meant I had a bona fide mother hunking kotatsu and my little weeb heart was never happier.
Let’s sidetrack a bit here to explain what actually is a kotatsu.
A kotatsu is a two-piece heated table hailing from Japan. In your average household, winters + tatami mat floors made for some interesting times, because they burn easy. Really easy. Until someone came along, slapped a super weak heater under a table, dropped a blanket over it all, and smashed a heavy tabletop over it.
We can get into the laws of thermodynamics but that’s not my field and let’s just say the kotatsu is like a haven of warmth. It’s great! Just don’t fall asleep under one. I personally cannot fit under this one because I’m a fat American, but some folks can wedge their entire bodies under it without burning themselves. Your average kotatsu’s wattage would require a step-down generator, but since the previous owner wasn’t using one, I decided not to. Turns out, this particular kotatsu is American wattage-friendly.
Wylder was happy (why, Wylder, why) to get it out of his flat. Even helped me put in my car. However, I’m pleased to announce, he now has regrets. I sent him the updated photos sometime before Halloween. Since he lived around the corner. Literally. I could have walked to his flat and carried the kotatsu home. But I had plans later that day, so the kotatsu lived in my car for a month. And then I moved, so it stayed in my backseat for a second month.
I brought it upstairs in early October, grabbed a forty-year-old quilt my great aunt, Juanita, made for my parents when they got married, threw it over the frame, set the tabletop over it and well...
...I hated it. It served its purpose just fine, but in my designed flat, it stuck out like a sore thumb. Which meant two things needed to happen:
The tabletop would need a makeover
I would have to acquire a better quilt for it.
OR
I could just do it all myself.
Let’s start with the makeover.
Going in, I knew the kotatsu was showing its age. The plastic top was discoloring from red to pink, the felt under the tabletop was discoloring also, and it was starting to fray around the edges. The plastic edge trim was cracked and taped into place and honestly, it would have been super cute in its heyday.
Right then, it looked tired.
I had a ton of butcher-block contact paper scraps from the bookcase project and pattern-matching wouldn’t be a concern or issue. The paper would hold up to the heater and oh, I could always change the pattern out if I got bored or damaged the contact paper in any way.
Supplies Needed?
A knife (I used my ever-handy box cutter)
Contact Paper
Patience
Flat edge - remember the cardboard I used in the bookcase project? I used that here because it was in arm’s reach.
The Process
Start in the Center of the tabletop: Lay down your largest piece of contact paper so it covers the middle. If it doesn’t reach from end to end - no big deal, it’s why you have multiple remnants.
Go side to side. Finish out laying the paper along the middle. This is how you’ll match your patterns once you start working on the edges.
Oh look, you have gaps. That’s going to happen when you work with scraps. Start in the middle of the edge and lay down another piece of contact paper. You can match the pattern if you’re feeling froggy. If there’s excess, cut it off once the entire side is finished. Do the same on the opposite side of the table top.
Corner time: Grab more remnants. Pattern-match to the best of your ability. I gave up and hoped for the best.
The corners themselves will need a little more attention. Get those bubbles out to the pattern to the best of your ability and use a thumb nail or your razor (gently) to smooth those corners out. The sharp edge of your nail will go through the vinyl for a smooth curve. Warning: It’s Sexy and sort of distracting. Your mileage may vary.
Just the tip: you’ll need the tip of your razor blade and run it along the edging trim slowly and gently, cutting away the excess paper and leaving a gorgeous surface behind.
Ta-da!
So Far, It was Fine
Honestly, it was fine for a while. But I had started to tear and rip my quilt in odd places because it was so threadbare - the quilt itself was in its 40s, okay? Fabric doesn’t age that well when you’re constantly using it.
Ignore my not quite obvious spicy joke.
But something else was needed. I needed more pop and something to hold the heat in better. I needed one of those quilts I saw in the anime that were super fluffy and I could just design the damn thing.
So I did, from scratch. Remember, I created this mess all on my own. I’d do it again too, just with a heftier sewing machine.
The Kotatsu Quilt Square: Initial Phase
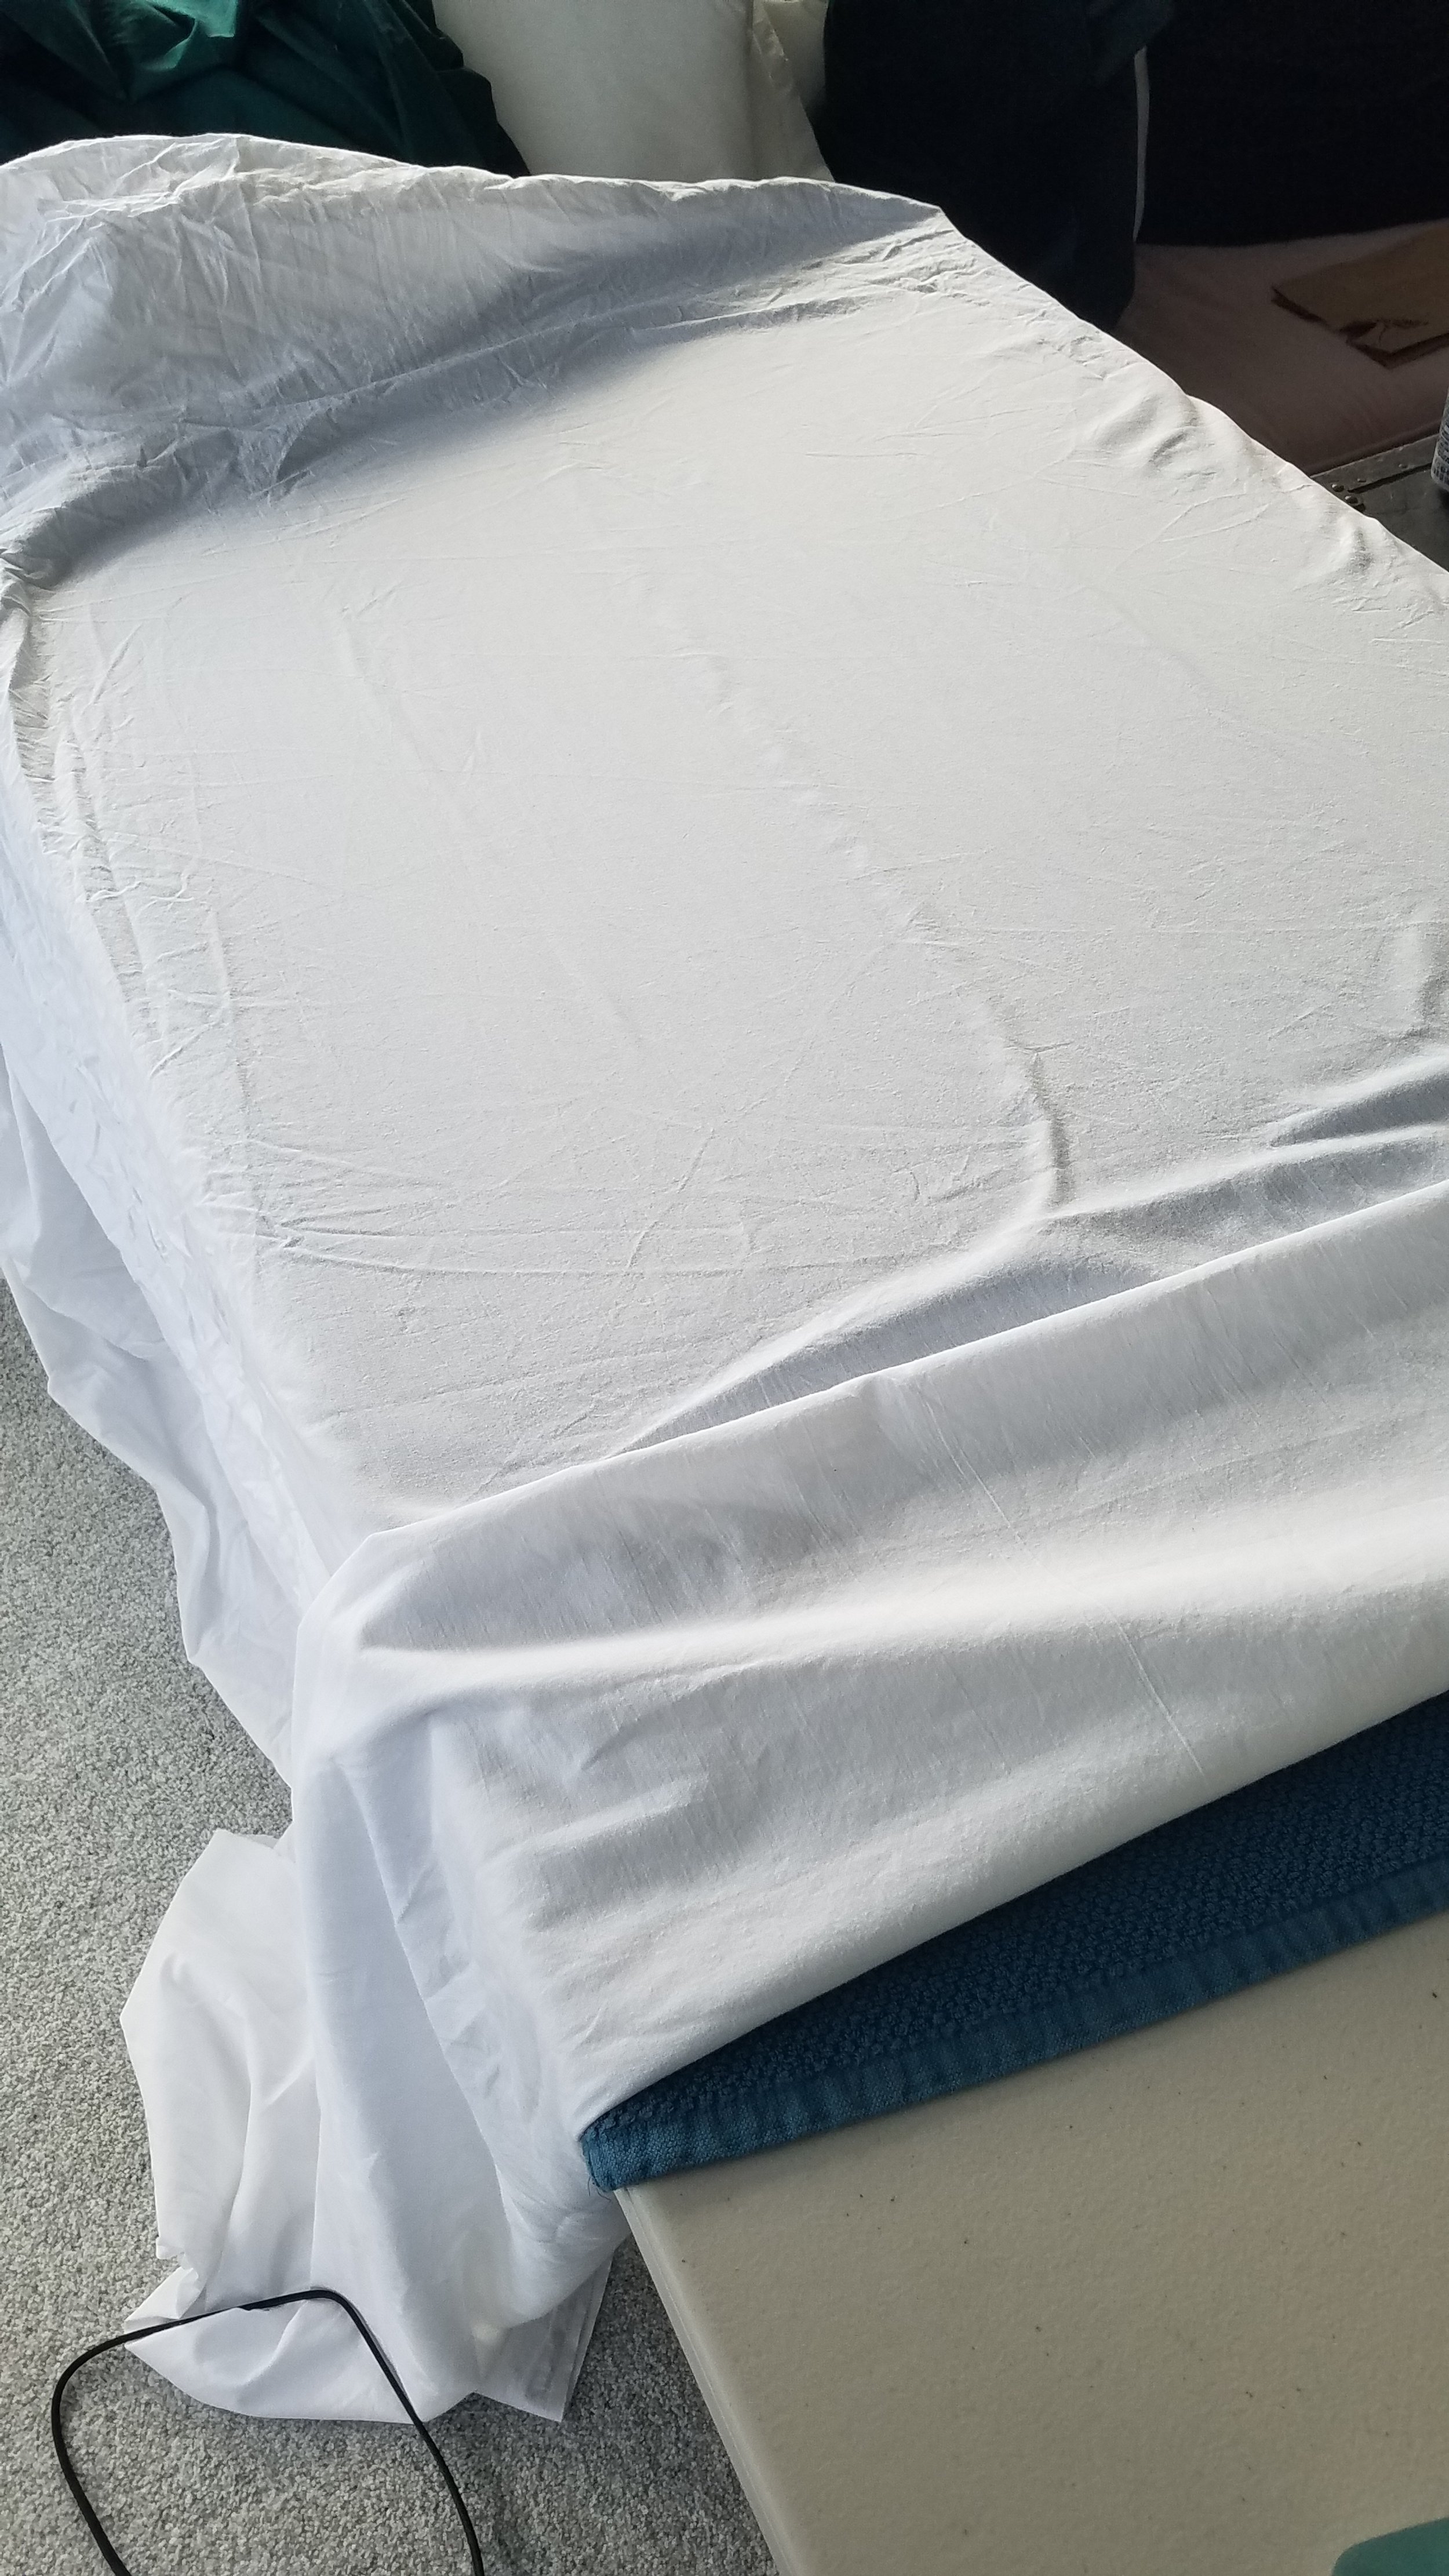
Decide how the square will look. Mine was a teahouse tatami-esque pattern with a wide edge. I wanted the edge to be white because quilt sheeting is 118” wide, came in two colors of white and eggshell, and I was going to soak the entire thing in fabric protectant. Because lugging this thing downstairs to wash on the regular - no thank you.
Draw it up! This is where I decided how big the square was going to be (85” x 85”). How fluffy would it be? Very fluffy, what materials would I use, etc.
Order the materials: in this case, I only ordered the quilt sheeting. The rest of my supplies were either around my apartment or oh no, a trip to IKEA to buy things. Heavens. Whatever would I do? (I bought 6 of those comforters.)
The Kotatsu Quilt Supply Breakdown:
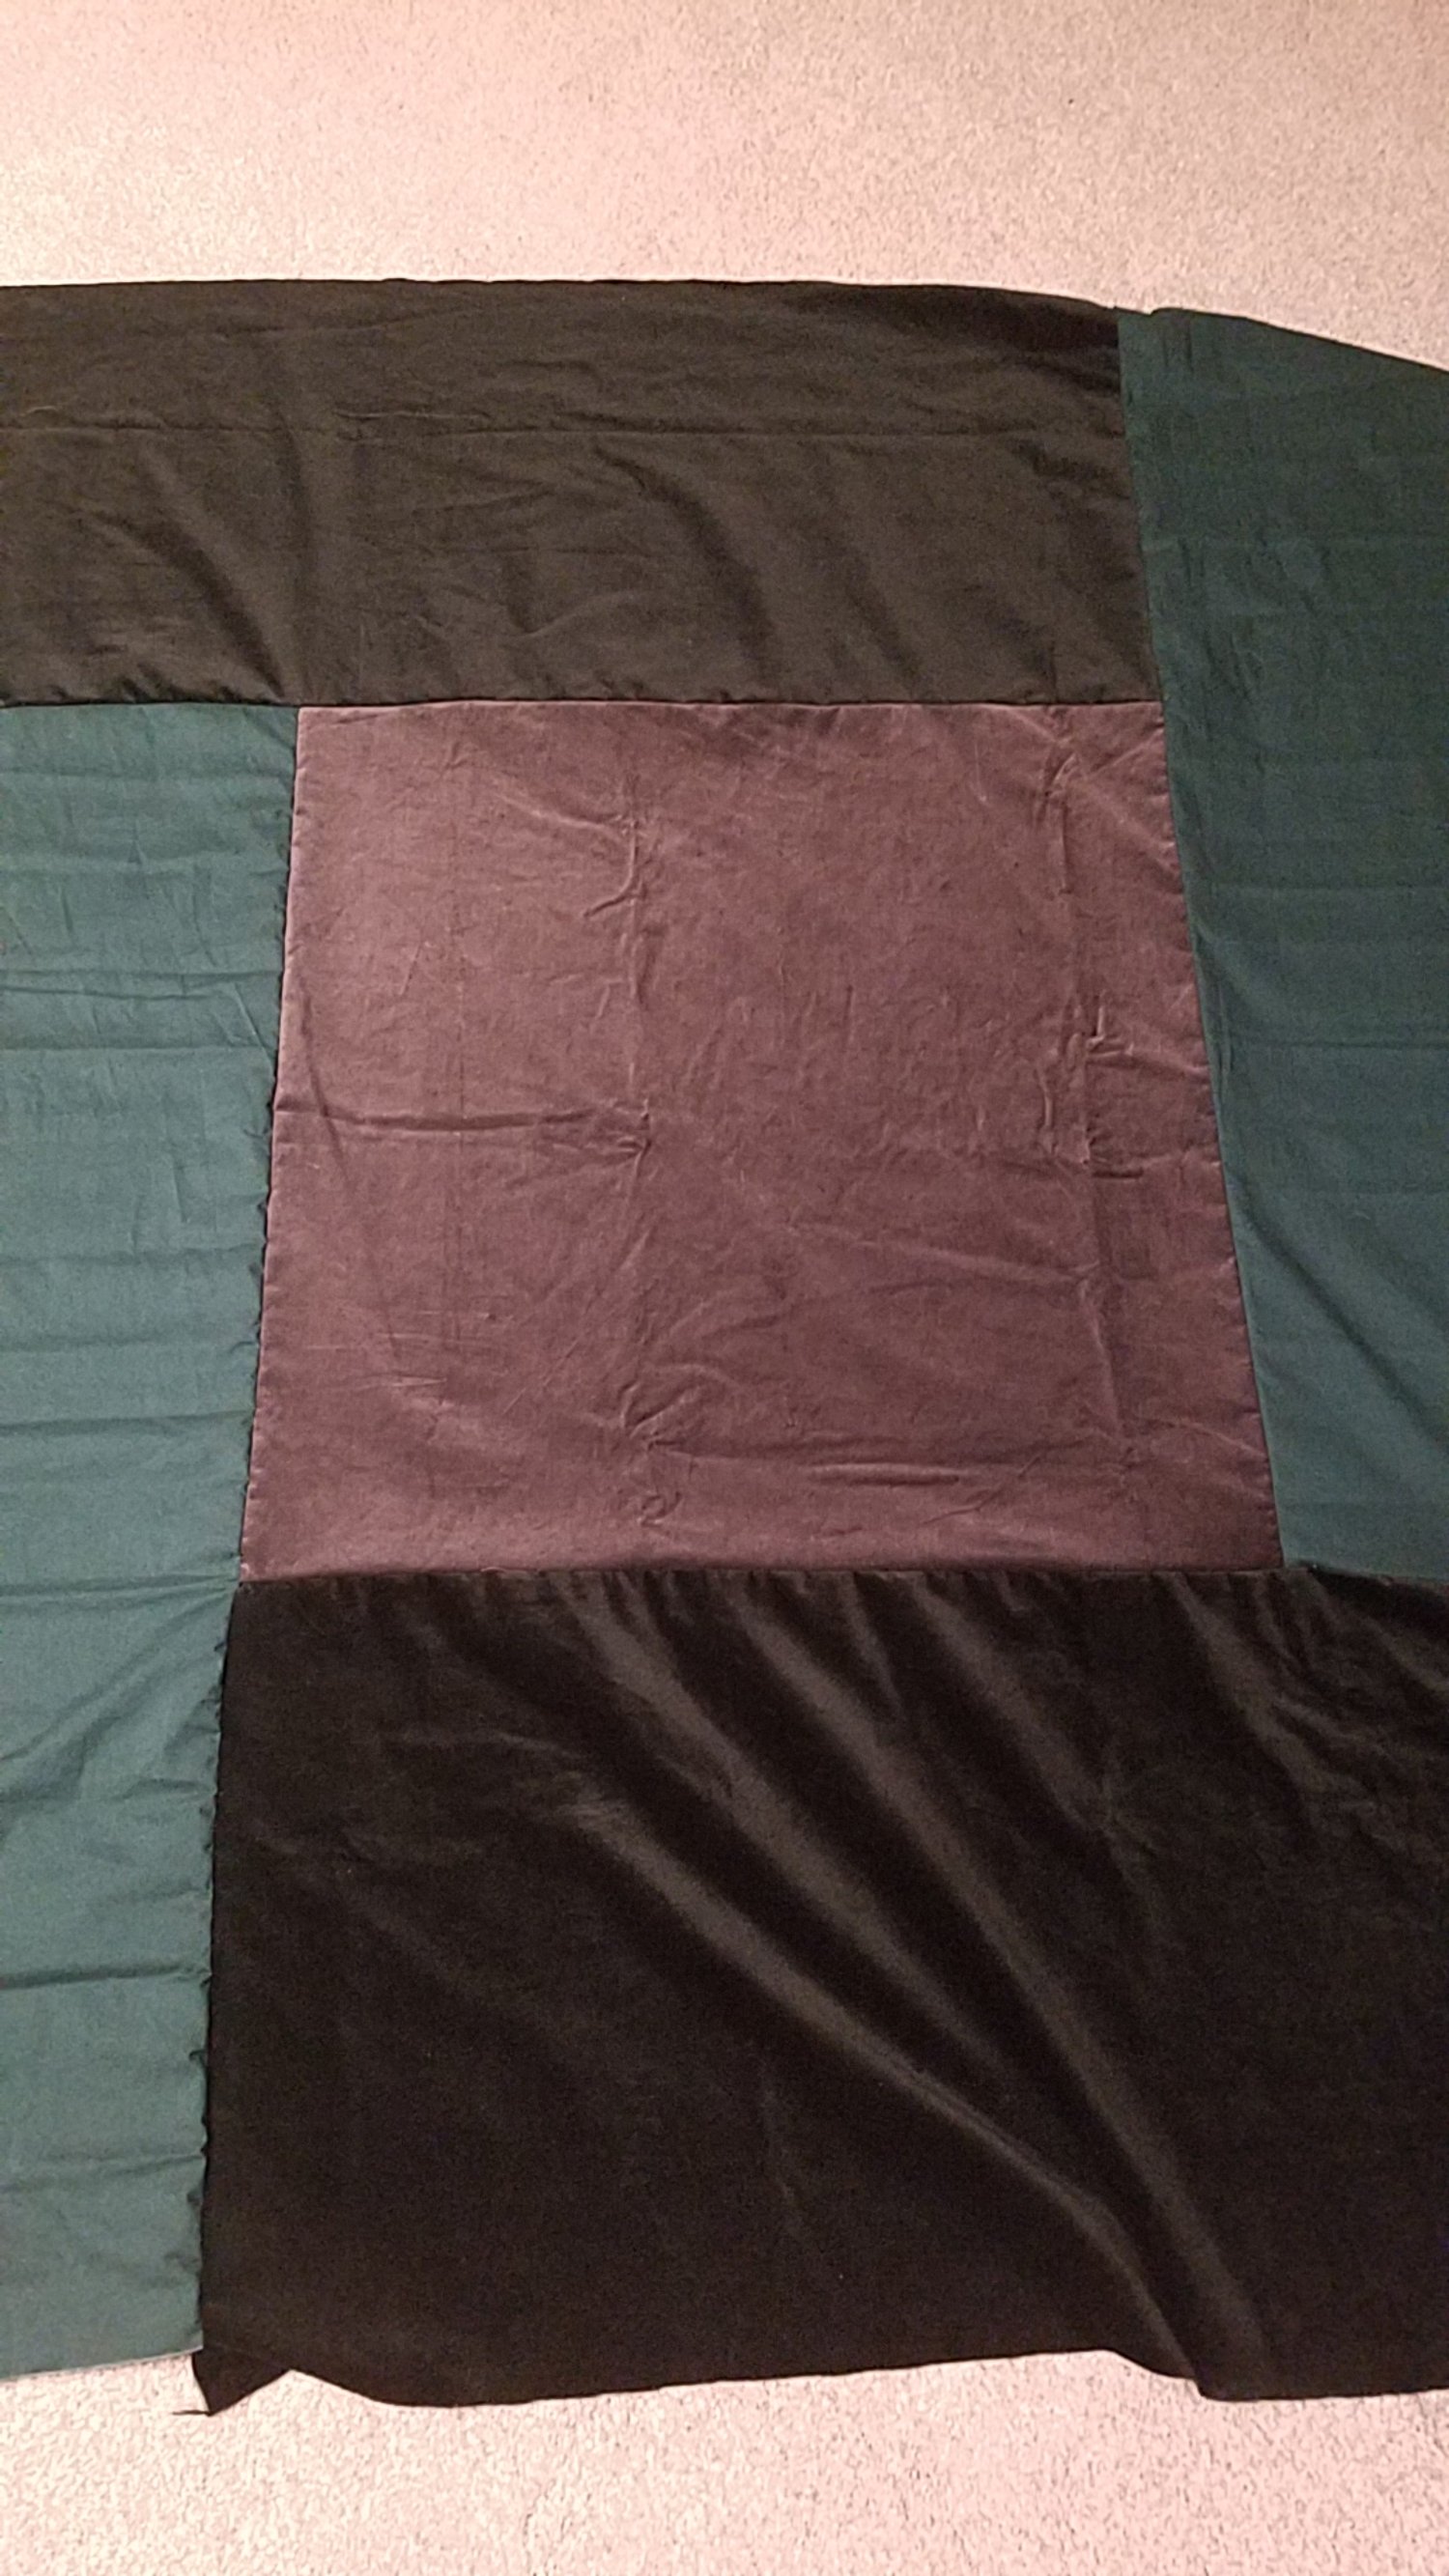
Gray velvet: leftover from headboard project
Hunter green broadcloth: initially slated for a duvet cover, but I had a 3-yrd piece because fabric comes in 22yrd bundles.
Hunter green velvet: leftover from a February 2020 sofa project
Stuffing: 3 IKEA comforters
Quilt Sheeting: Ordered from FabricWholeSaleDirect.
Thread
Scissors
Patience
A Sewing Machine capable of handling 15 layers of fabric. (It doesn’t exist on the consumer market.)
More patience
You thought I was kidding about patience?
The Kotatsu Quilt Process:
Wash the sheeting: It’s 100% cotton, it would shrink in the wash. Pre-shrink it first.
Iron everything. Which meant spending some quality time ironing 108” of 118” wide fabric. I wasn’t looking for pristine flat fabric, but I needed to iron the bigger wrinkles out.
Cut your fabric to size.
Assemble the top layer. My first sewing machine handled this part perfectly.
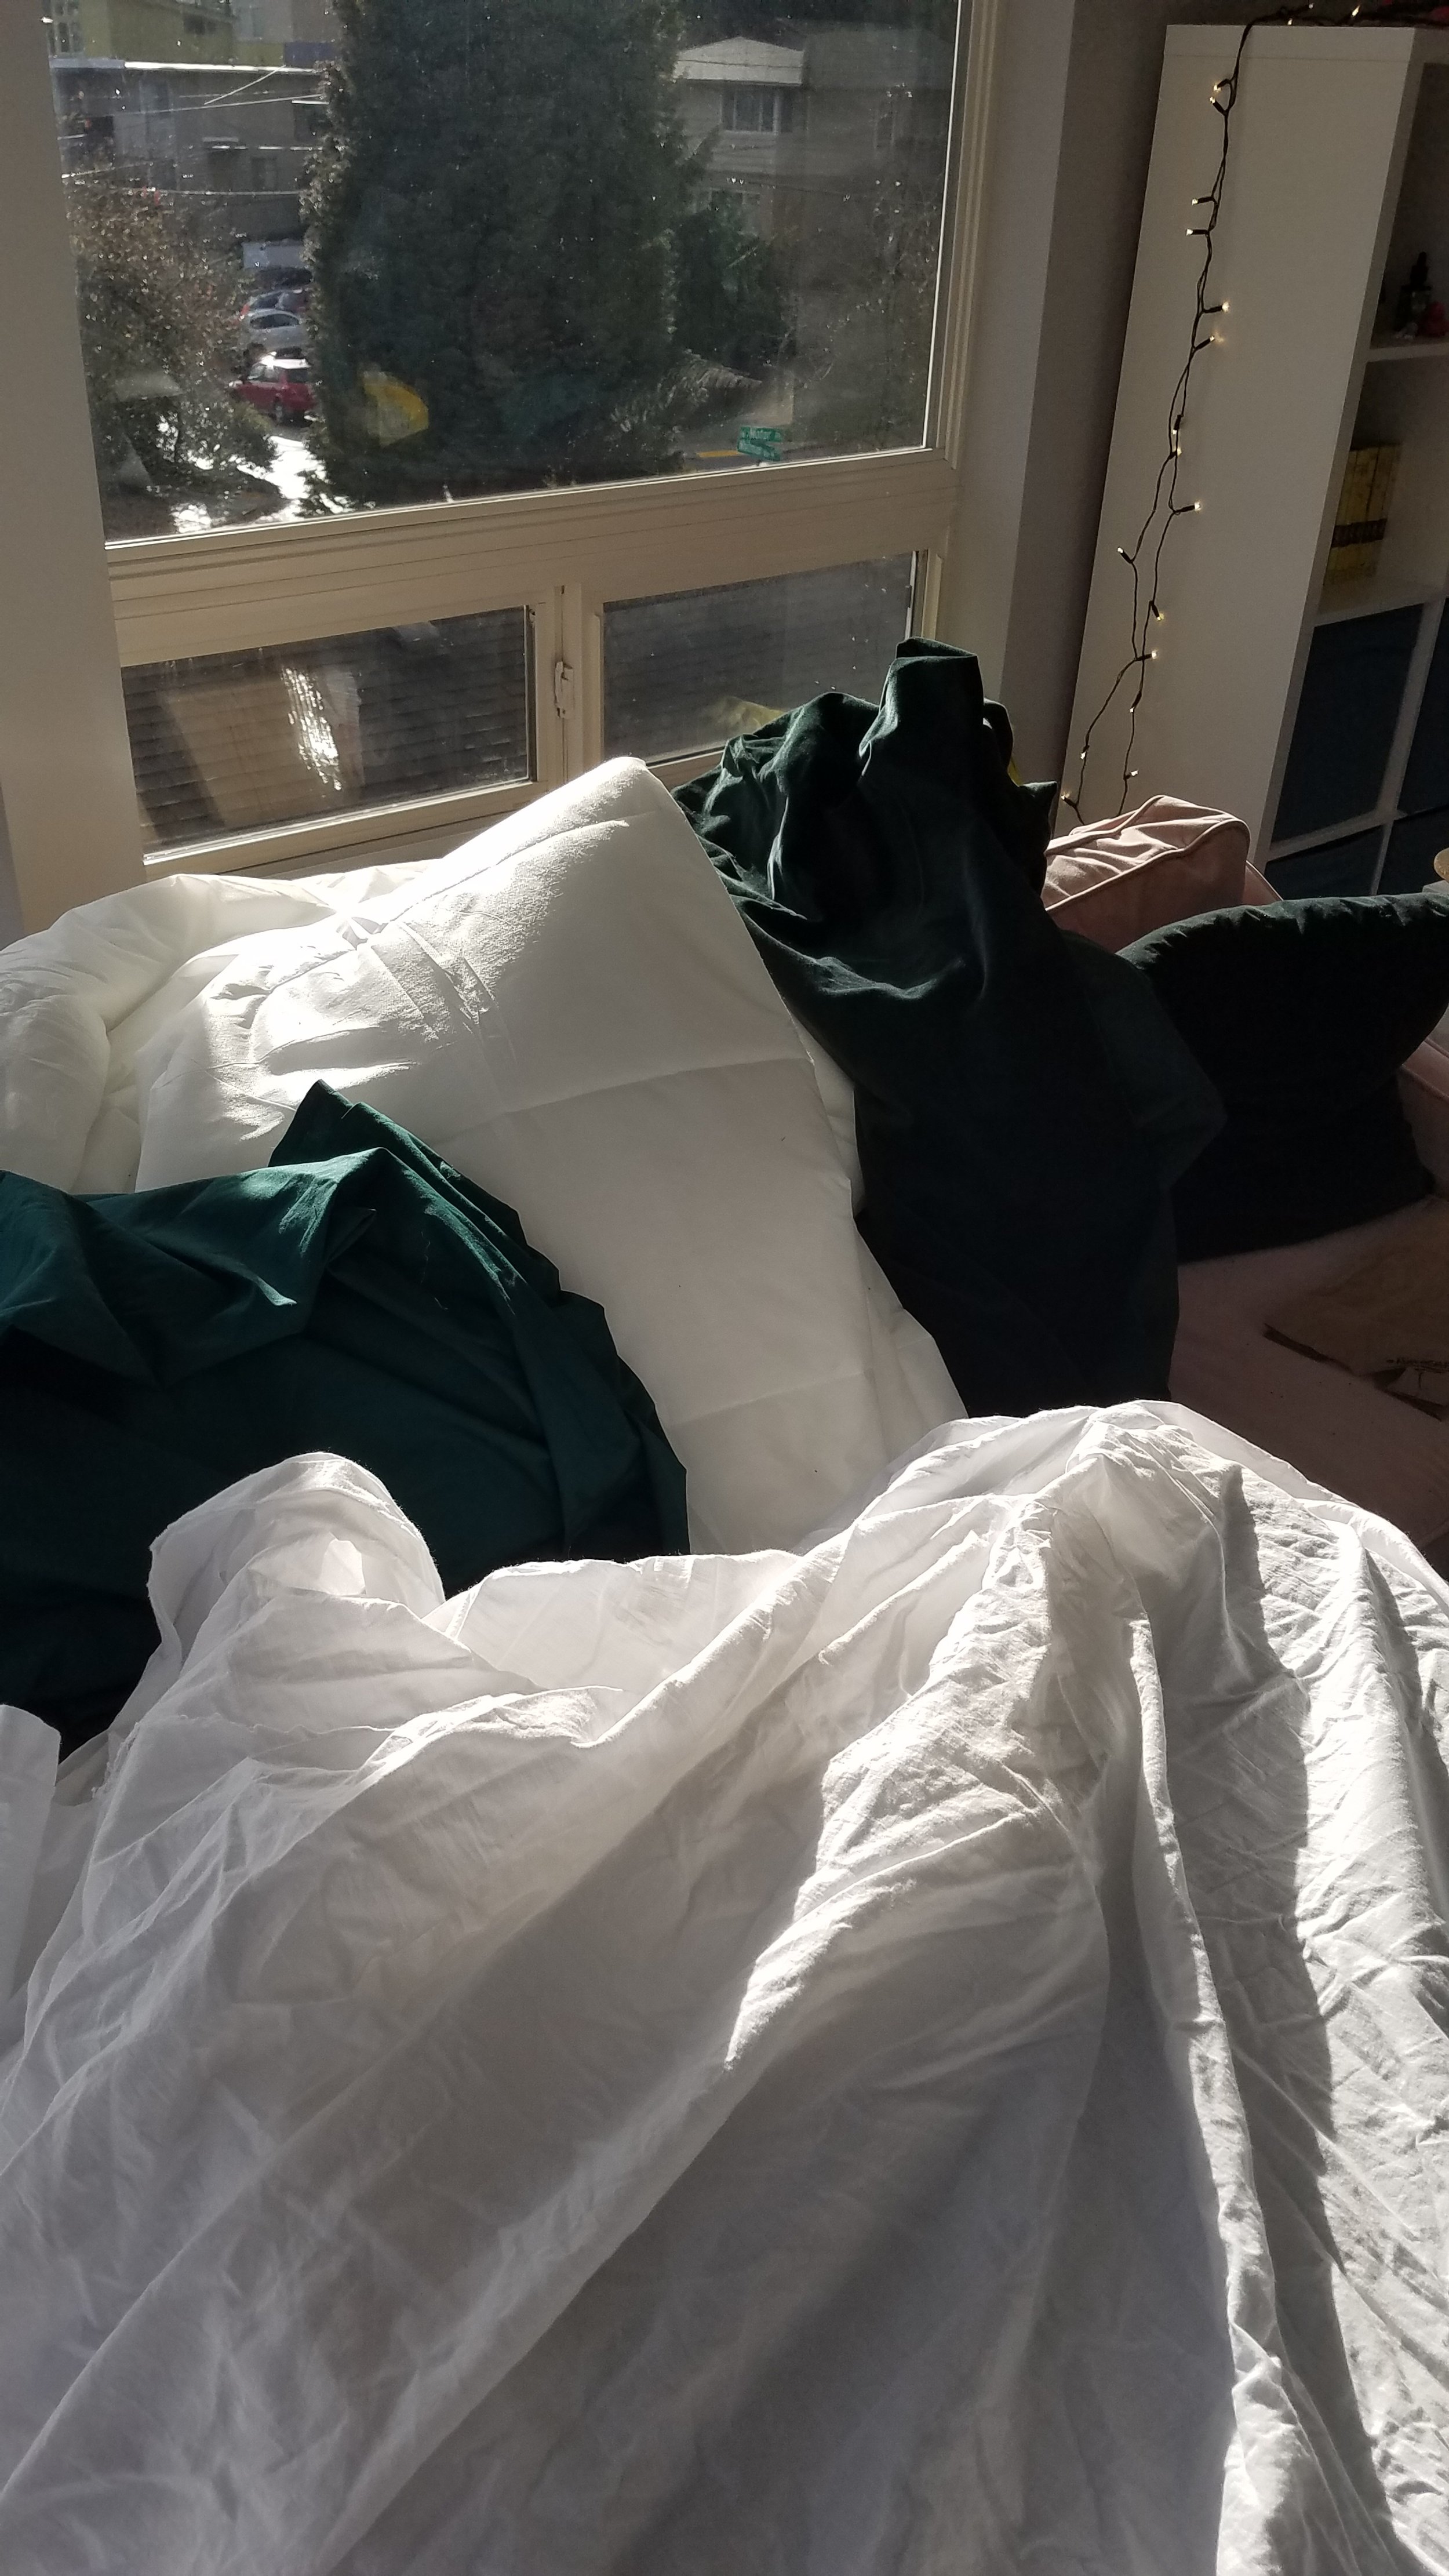
Assemble your fluff - sew three comforters so they’re one squishy fluffy sandwich. Leave 20 inches free on one side so you can flip them inside out into one big puffy cloud. Don’t worry about sewing this part shut - you won’t see it once the quilt is assembled.
Assemble your quilt: Lay your quilt sheeting down on the floor > fluff > top layer.
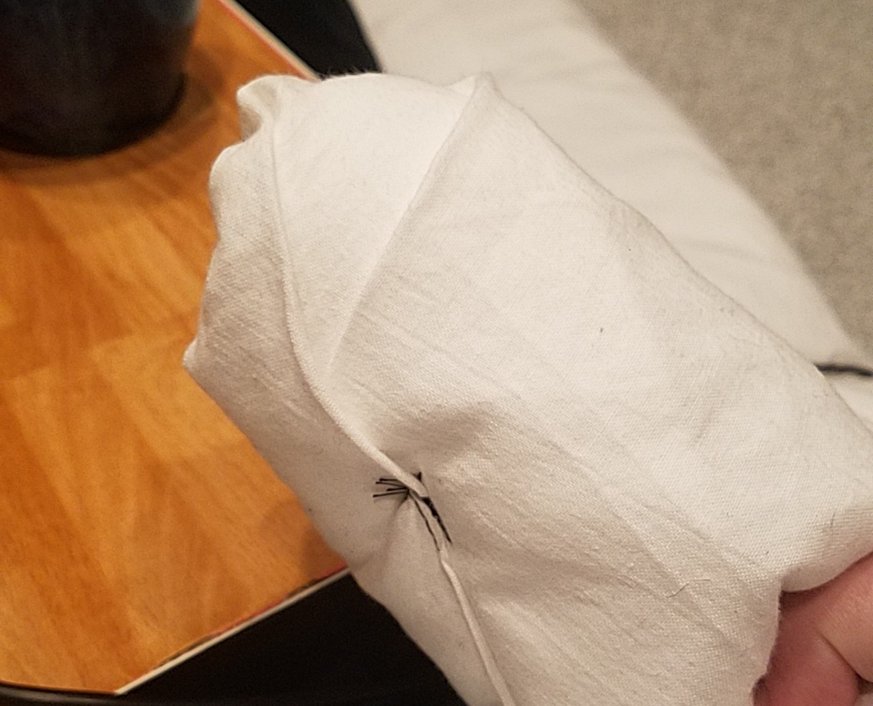
Fold up your edges and tack into place with needle and thread. The corners will need to be faux mitered.
Faux miter your corners - we’re not actually mitering the corners. They’re too fluffy. But we can fake it! Flip your corners over to cover the fluffy bits. Now fold in your straight edges so it looks like you painstakingly mitered the corner. Tack into place with needle and thread. If it just happens to look like an uncut penis, well, it’s because this author is mentally a 12-year kid and I can’t unsee it.
Tack your inner square down to the bottom sheeting. We could pin everything, but there’s too much fluff. The average quilting pins are not up for the job. Guess how I know? Go on. I’ll wait.
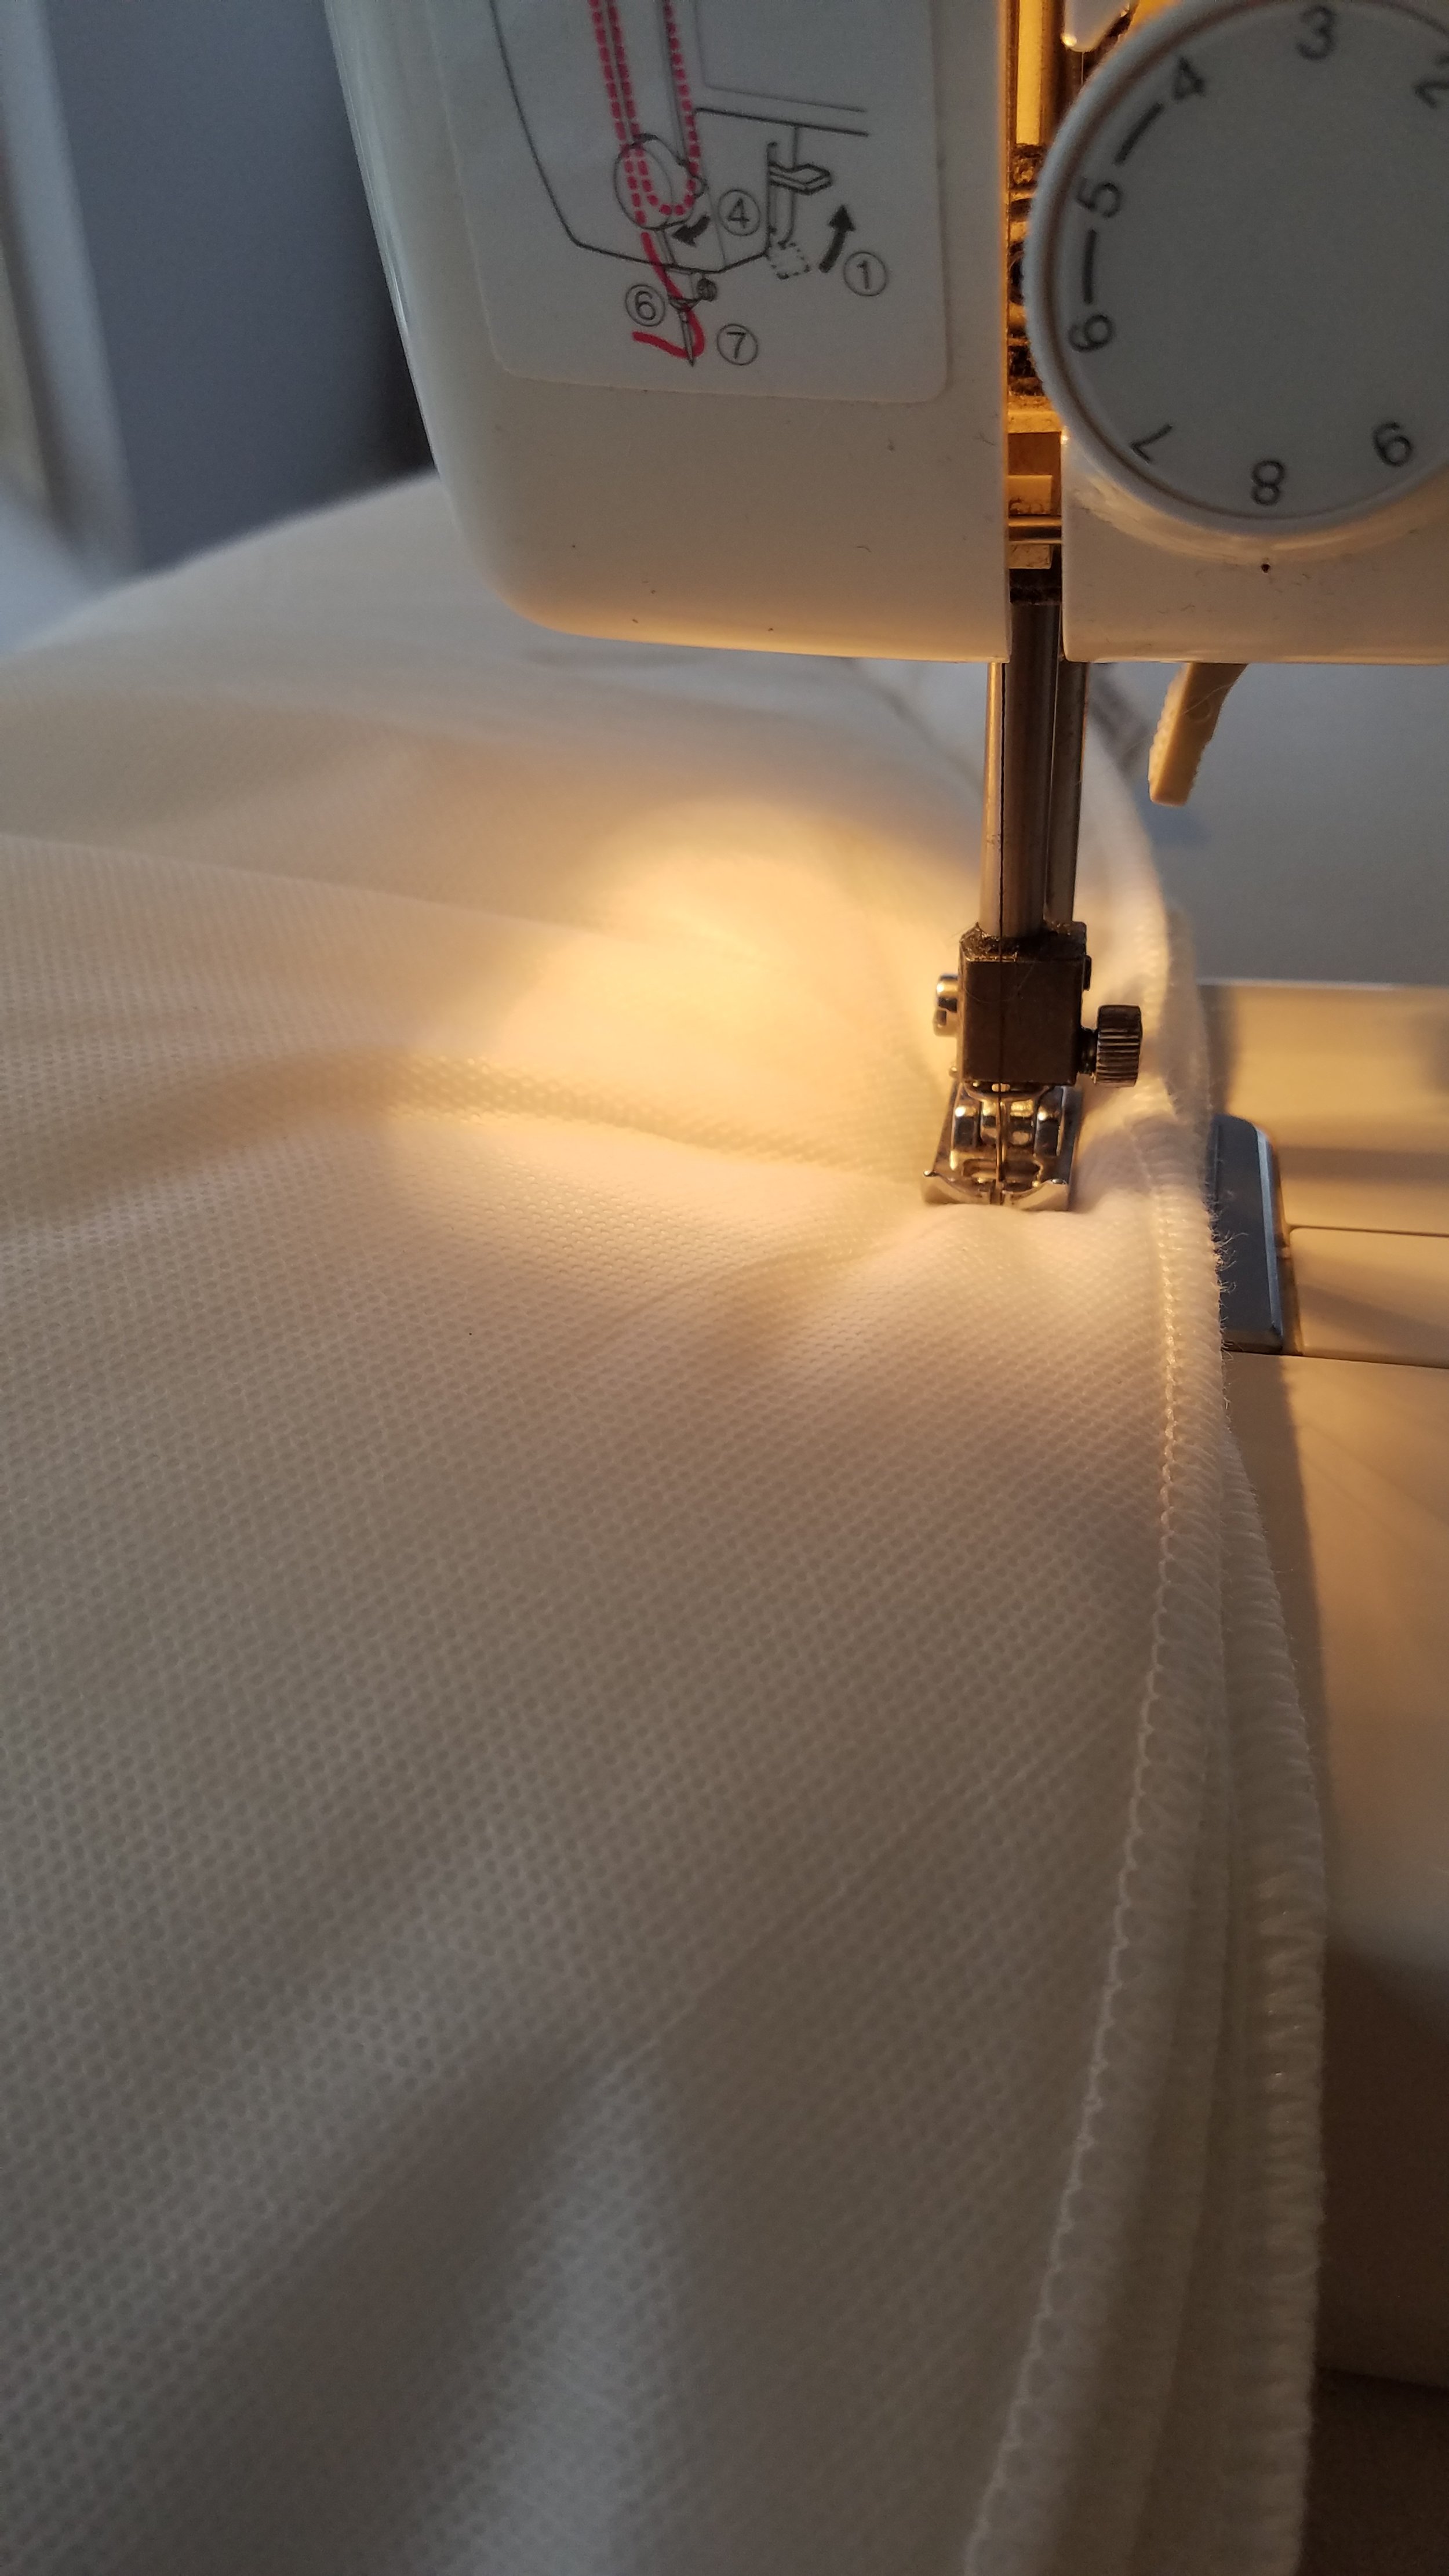
Slowly sew your quilt. Start on the straight sides. I used black thread here. I say slow because there’s a lot of fluff involved and your machine may not quite be able to handle it. It’ll try. My 20 year-old Brother was not up for the task. My Heavy-Duty Singer sort of gave up when I had to reset the bobbin.
Give up on using the machine and hand-stitch the rest.
Soak in Fabric Protectant and Waterproofing solution. Ignore how the green bleeds into the white underneath. It’s FINE. (Warning: Pomegranate seeds will test this. Why did we use white? BLEACH.)
Toss over kotatus frame
Smash tabletop into place
Enjoy!

Final Lessons Learned
The first lesson was that not even a 20-year old Brother sewing machine that could and had handled eight layers of upholstery velvet without blinking, couldn’t handle this project.
The second lesson was humans will packbond to anything. My mother heard me in tears over the phone because I was begging my Brother Machine to not hate me because I purchased a second machine. “Natasha, are you apologizing to a sewing machine?”
“Shut up, Mom!”
The third lesson? My HD Singer tried to handle it and lost bobbin tension with 20 inches left. Consumer heavy-duty machines are not quite up for the task of a quilt this fluffy. Death by fluff, RIP sewing machines everywhere.
The final lesson? Pomegranate seeds are the bane of my existence. That wasn’t the lesson I learned though. The actual lesson was this would have been a hell of a lot cheaper if I had just bought a kotatsu square on Amazon or something. It wouldn’t have been as fluffy and probably would have been uglier but this square is luxury-level cost, effort, and has velvet on it and we are in love.
Initial Quilt Cost:
Comforters: 30$
Sheeting: 27$
Stain Solution: $12
Fabric: Free
And then I was forced to upgrade my machine. So…
Final Cost: $400